November 21, 2017
No Sand in the Gears
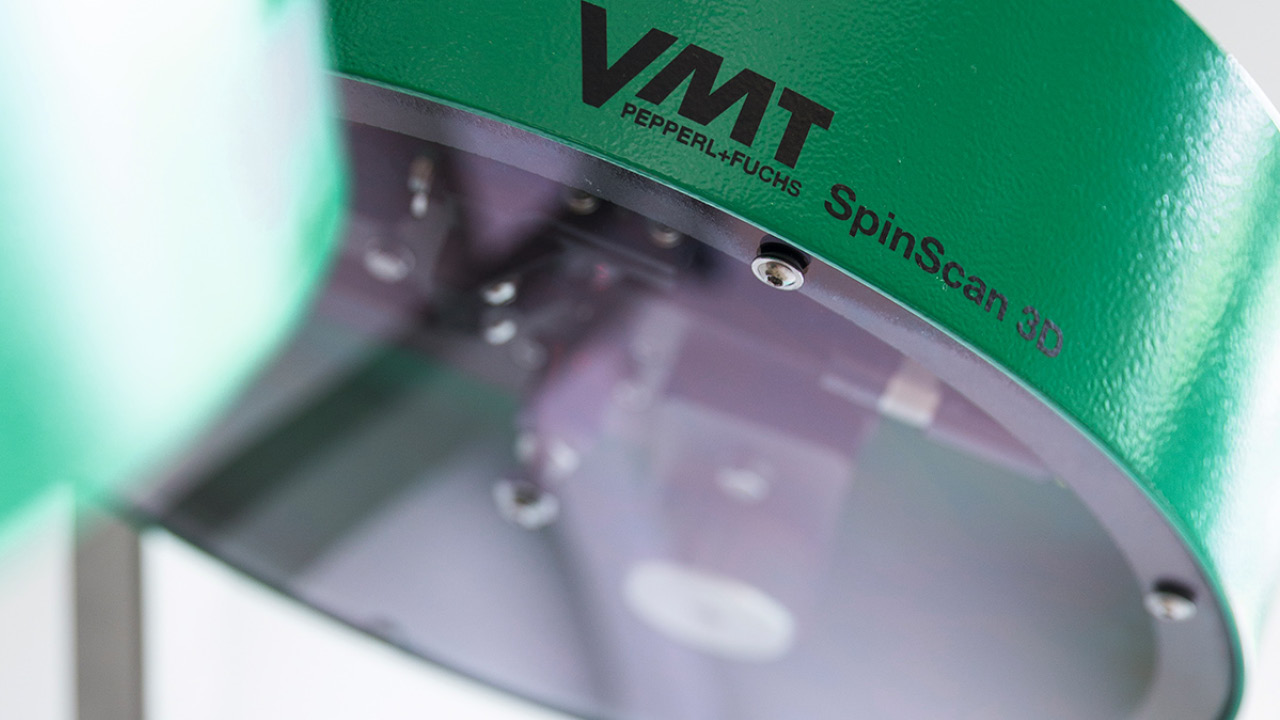
The factory glistens with heat. When liquid iron or aluminum is cast for an automotive engine block, temperatures can exceed 1,000°C. In addition to its sweltering temperatures, the casting process is also time and cost intensive. To prevent incorrect castings, the SpinScan3D system from Pepperl+Fuchs’ subsidiary VMT Vision Machine Technic Bildverarbeitungssysteme GmbH checks the casting molds during quality control.
Whether at the push of a button or the traditional turn of a key, when the engine starts, the thrill of driving can begin. Cars exhibit engineering skill of the finest caliber: increasingly powerful engines and constant innovations that make driving ever more comfortable. But before a car can hit the road, it first has to take a long trip through production. The manufacturing process is complex and subject to the highest standards of precision—from the smallest screw to the entire body, everything has to be right, down to the last detail.
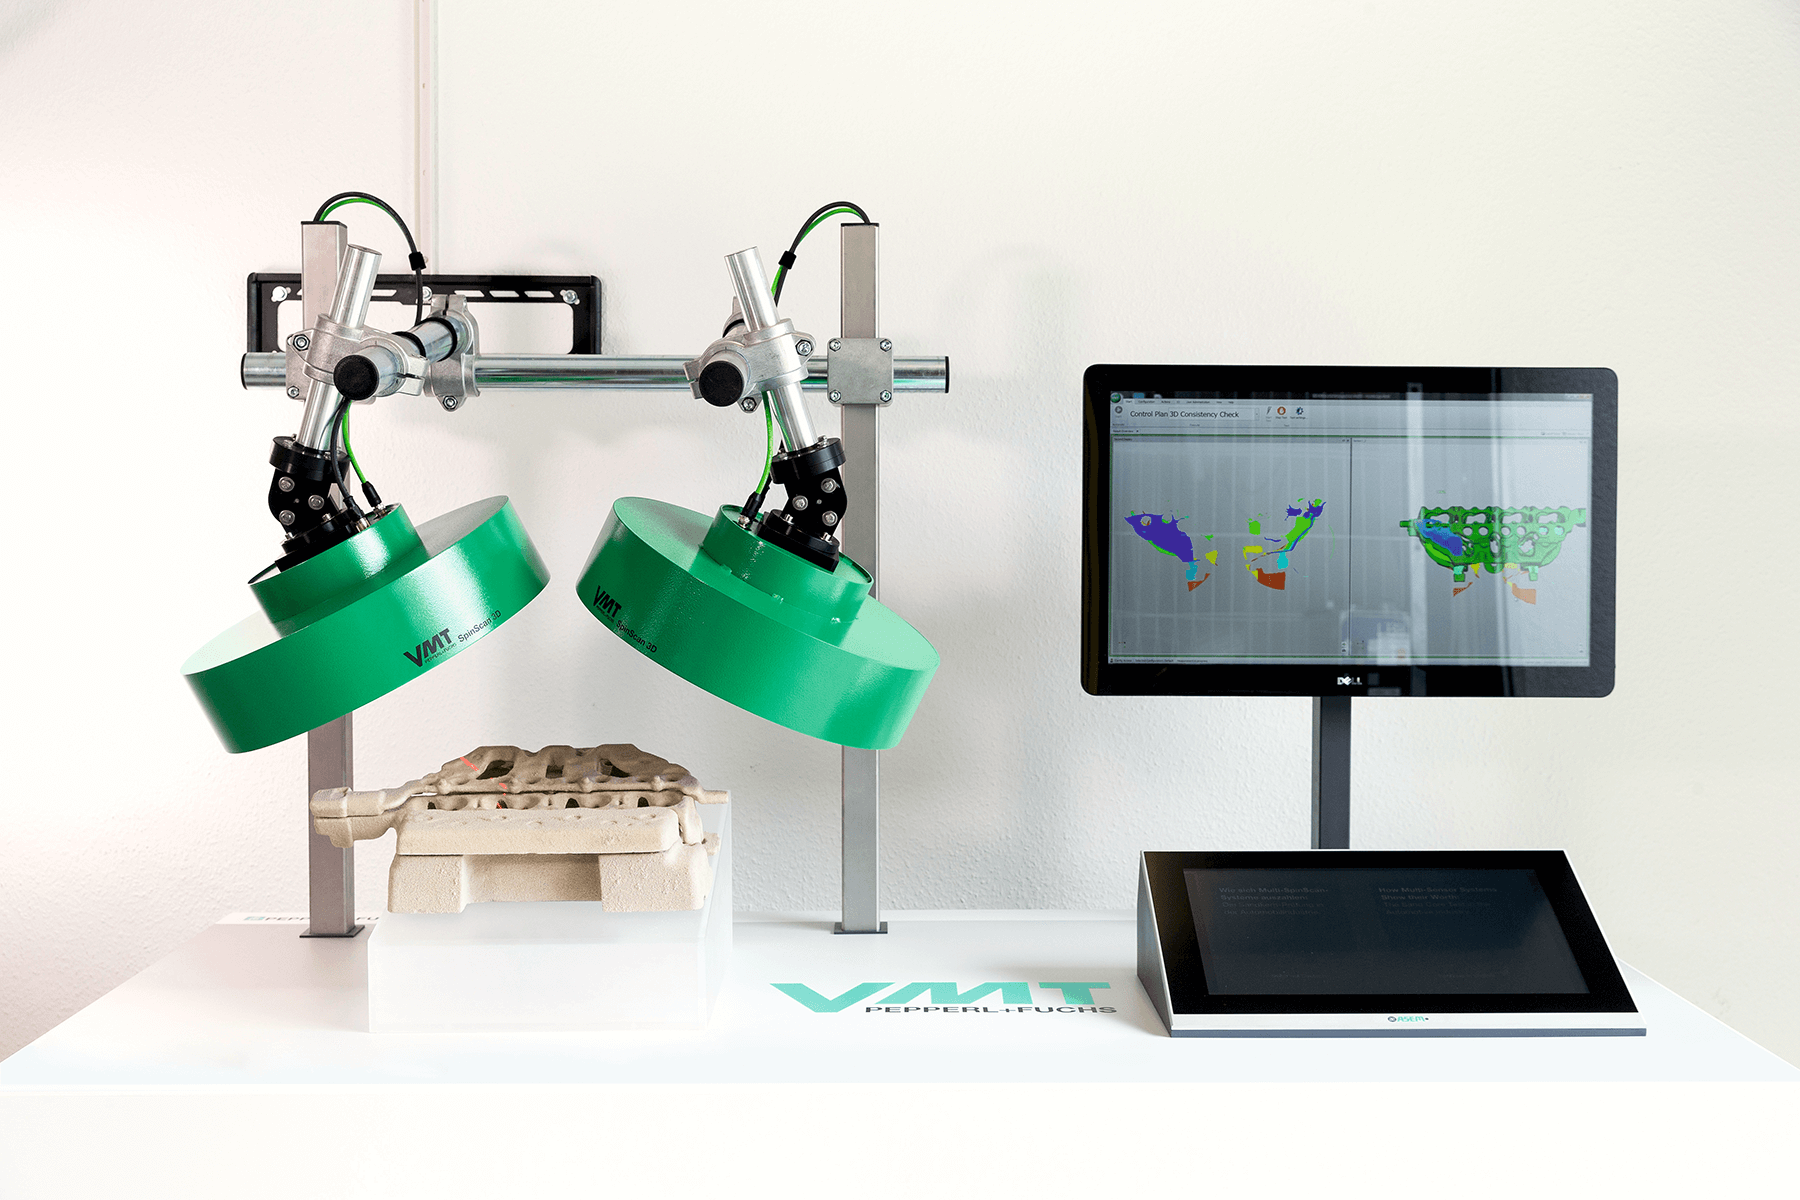
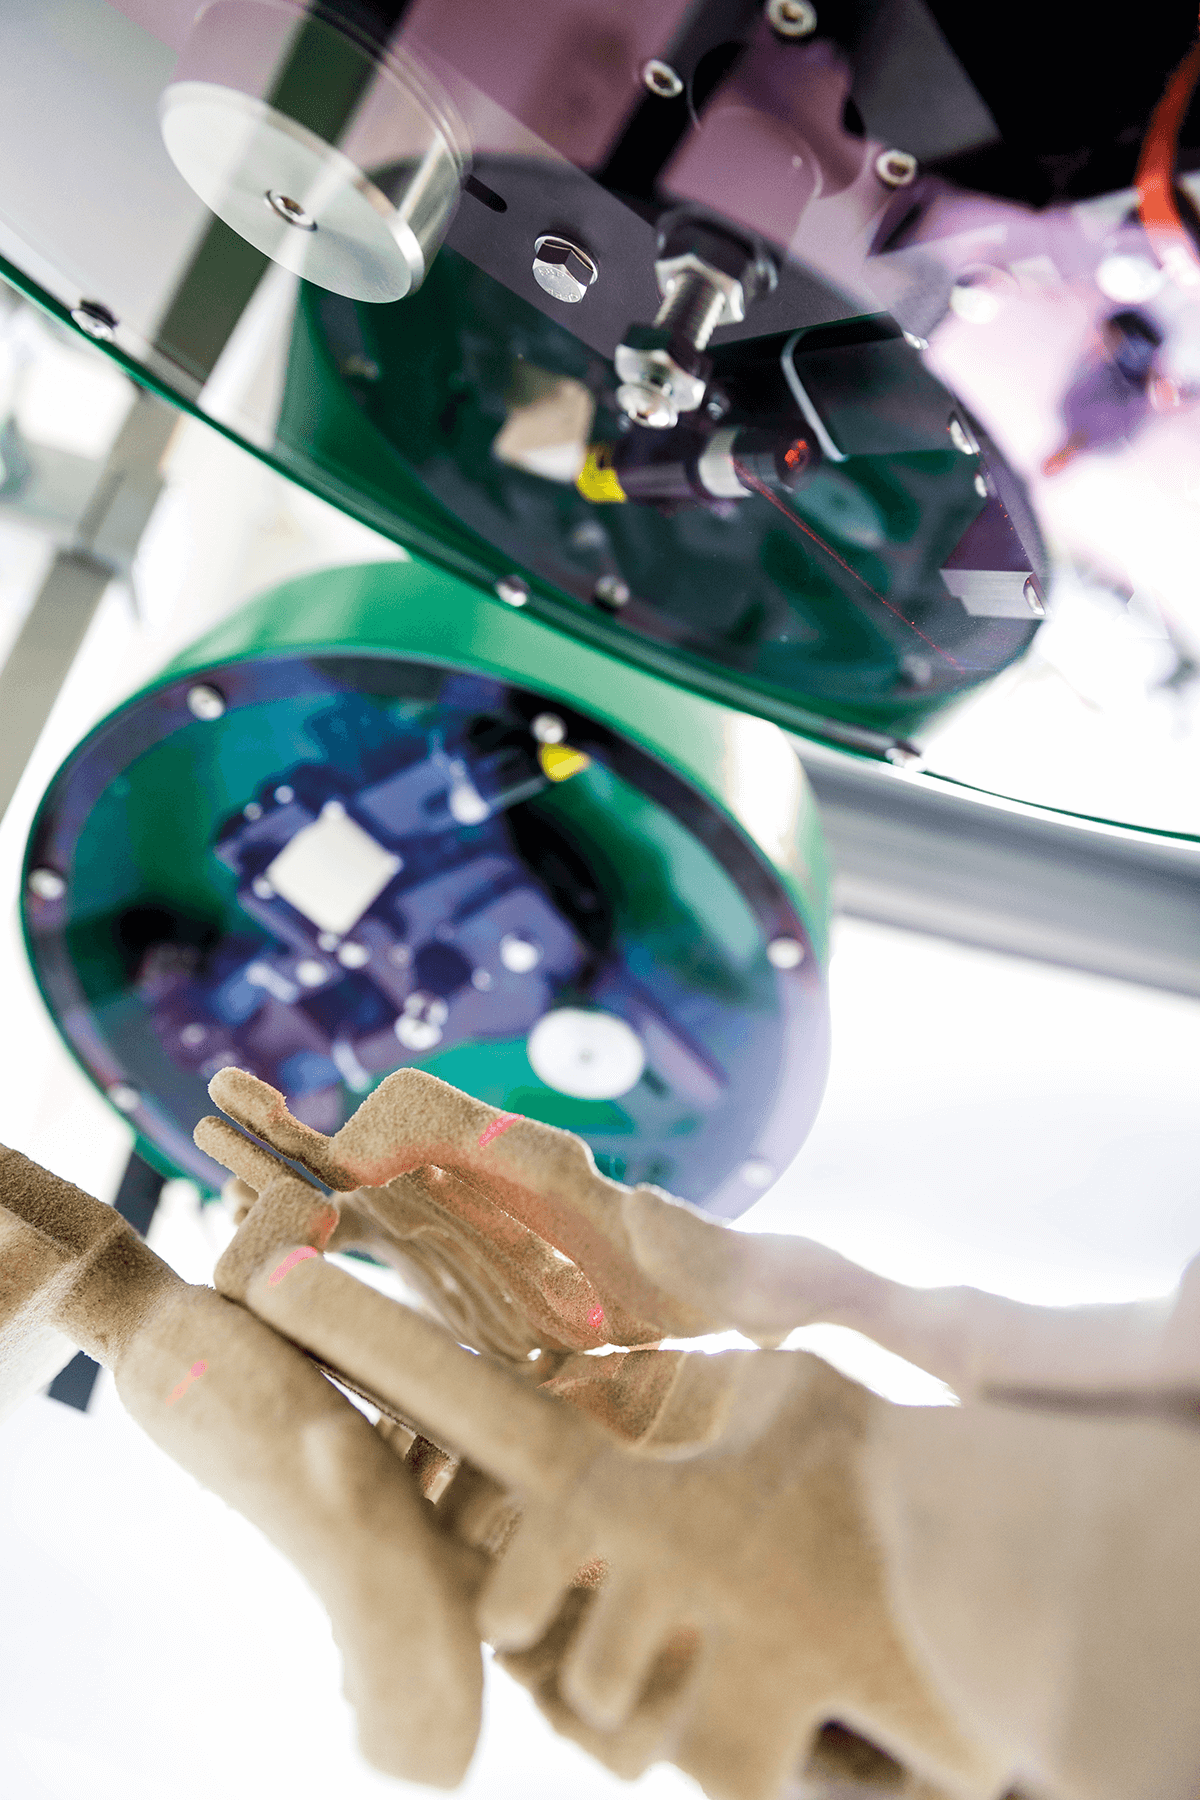
Down to the smallest detail: with rotating movements of the SpinScan3D, four perfectly coordinated sensors create a detailed image of the sand core and hence data for the casting mold.
Engine as Centerpiece
The engine is the car´s central component, and its quality must be 100% compliant with the design data. An essential element of this centerpiece is the engine block. Whether made from cast iron or light metal, it is generally manufactured in a casting process. Once the cast material has hardened, it is virtually impossible to adjust the result. VMT therefore developed a solution that checks the quality of the mold using modern image-processing technologies prior to the expensive and time-consuming casting process. Using this approach, the Pepperl+Fuchs Group company ensures that defective engine blocks are never cast in the first place.
Fine Grains, Big Blocks
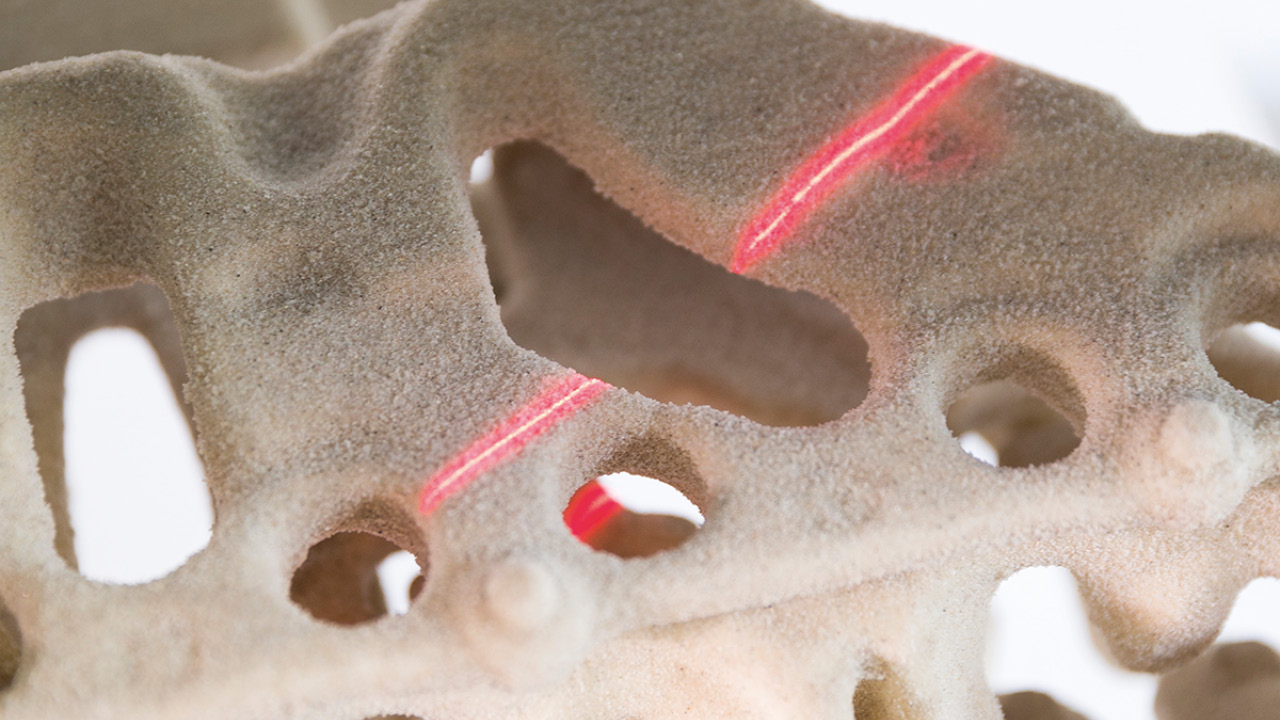
The casting process is based on a natural material that we otherwise associate with deserts and beaches: sand, pressed and supplemented with a binding agent, serves as a “lost mold” for the manufacture of heavy engine blocks. These sand cores form a negative of the engine block and fill the later cavities during casting. After the casting material hardens, they are destroyed again and used to produce new molds. Each individual engine block is thus created using its own sand mold.
Since the quality of the sand core has a significant influence on an engine block´s characteristics, quality assurance must start before casting. Due to the large number of engine blocks manufactured daily, however, checking each sand core individually would require considerable effort. A solution is therefore required that automatically examines the sand cores in detail and can simultaneously determine if they are fit for casting or not.

“The Problem Provided the Inspiration”
Dr. Werner Neddermeyer, Project Manager at VMT, recognized the problems in engine block production and developed an idea. “We considered the measurements that need to be recorded and how we could achieve this using our sensors,” he says, describing the initial stages. “Every point within the sand core must be checked very precisely to make a statement on its quality. This is not easy, considering that sand cores for engine blocks are complex molds.” The proven light section process quickly proved to be the appropriate technology for examining the sand cores in detail.
However, an ordinary light section sensor was not sufficient to record and depict a sand core in all its details. The complexity of a sand core required a more sophisticated sensor system that could examine and check every corner—a challenge that Neddermeyer took on together with Dr. Michael Kleinkes, Development Manager at VMT. The result is a sophisticated interplay of multiple sensors that provide a precise 3-D image of each sand core and automatically compare it with the CAD design data.
SpinScan3D Sensor Symbiosis
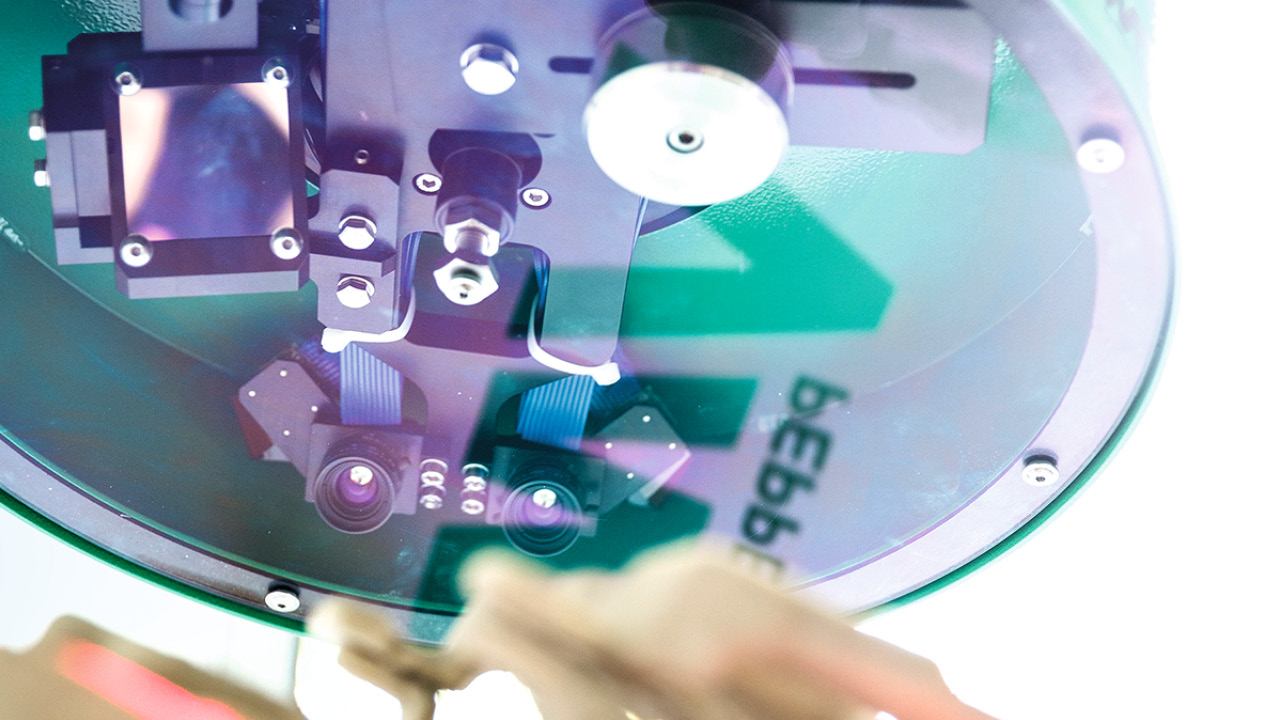
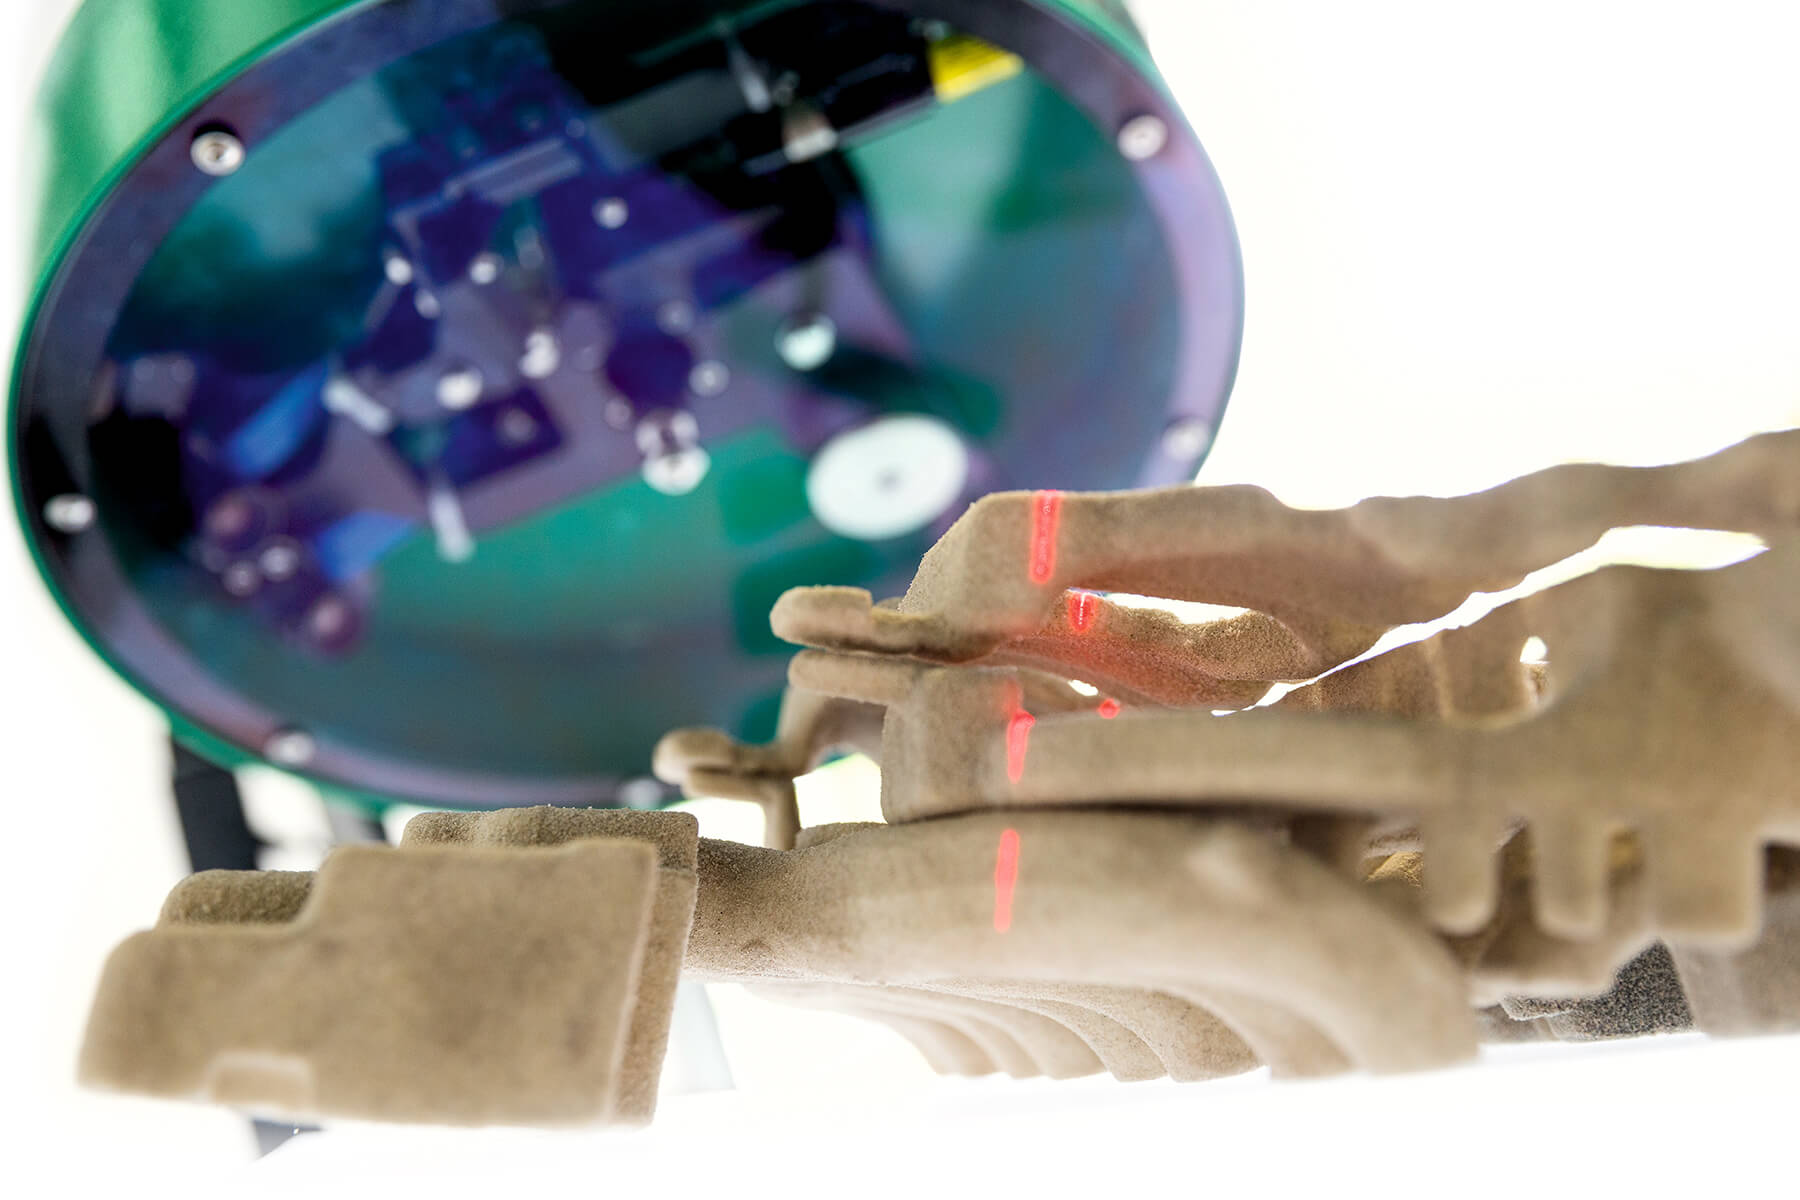
The solution uses four SpinScan3D sensors that work in parallel. The movement and interaction of the individual components of this multisensor system are what allow for the exact imaging of the complex molds. A look inside the SpinScan3D reveals how VMT has modified the laser line triangulation for this task. As in the traditional light section process, an optical prism is used to expand a laser´s light beam into an evenly luminous line. Two cameras in the SpinScan3D that work in parallel each examine a specific part of the laser line and record the height profile along it. This double laser line triangulation allows for an expanded measuring range without sacrificing measurement accuracy. The particular innovation of the SpinScan3D ultimately lies in the expansion of the sensor to include a motion axis. It is turned by a rotation platform so that the laser inside rotates around its own axis and the projected line runs over the object without interruption. During this process, the two cameras swing around the midpoint of the sensor and continuously record changes to the laser line.
All a Question of Perspective
Due to the rotating movement of the SpinScan3D, the viewing angle of the object is constantly changing at a measuring rate of 300 light sections per second, which results in a multitude of individual snapshots. The intelligent VMT software processes all recorded data, assembling the countless individual images into a point cloud to create a 3-D overall image of the complex form. The reproduction is practically free of shadowing effects. This means that the SpinScan3D records and depicts almost every millimeter precisely. “While subsections of an object might not be recorded by traditional laser line triangulation because they lie in the measurement shadow, the different viewing angles of the SpinScan3D enable it to detect more points,” explains Kleinkes. “We therefore provide a much more comprehensive data set and a high-precision 3-D image of complex objects.” Thanks to the four perfectly coordinated sensors working in parallel, the VMT system can accurately record even the geometry of the large sand cores used for engine block casting. And the system works so quickly that it does not hold up the pace of production.

With expertise and the passion for automation, Dr. Neddermeyer and the team work on the perfect solution.
Data Processing Is the Answer
Such precise checks are made possible by the VMT software. It processes the large data volume with ease and not only provides the user with a detailed image of the sand core but automatically performs a comparison with the CAD design data for the casting mold. This is done by determining reference points for critical locations of the sand core. The software compares the recorded sensor data with the defined target dimensions and calculates the extent to which the virtual plan and the actual design agree. “This process, which brings together the virtual world and the real world, reflects the need for Industry 4.0 components to provide electronically readable data from all phases of the product life cycle,” Neddermeyer explains. If the quality of the sand core differs significantly from the CAD drawing, a warning message is automatically sent to the control center so that the defective casting mold can be removed before the casting process. The system thus provides the user with all information needed before the casting process in a form that enables the necessary measures to be determined immediately.

Sensorik4.0®—Added Value for Industry 4.0
Processing sensor data in a way that supports users effectively and optimizes production processes is an essential task of Industry 4.0. The sand core inspection shows how VMT can convert large amounts of data into information that is useful and comprehensible for users in practice. Communication-enabled sensors play a key role by making big data accessible—from the field level to decentralized information systems and across all hierarchy levels. Pepperl+Fuchs uses the term Sensorik4.0® to describe such sensor solutions. By providing critical information and its visualization, they make a valuable contribution to Industry 4.0 scenarios—both now and in the future. They help to shape processes as efficiently as possible along the entire value-added chain while simultaneously relieving the burden on personnel. Together with partner companies, VMT and Pepperl+Fuchs are constantly working on developing and further optimizing such Sensorik4.0® solutions.
No Time to Rest
From the first prototype of the SpinScan3D to the multisensor symbiosis in use today, numerous aspects have already been refined. Even though the SpinScan3D is now being used by customers, the project has not yet ended for Neddermeyer and Kleinkes. “There is always something that can be improved,” reports Kleinkes. “We are constantly working on polishing the system to offer our customers an even better solution.” And SpinScan3D is not limited to sand core measurement. Neddermeyer and Kleinkes have set themselves the goal of further developing the system for mass production and making it suitable for use in numerous other applications that require exact measurements. “This is what our work is really about and what motivates us to find the ideal solution every time. We always have our customers and their possible future challenges in mind—in the age of Industry 4.0 more than ever,” Neddermeyer concludes.

