September 25, 2024
3-D Camera System Monitors Electric Vehicle Production
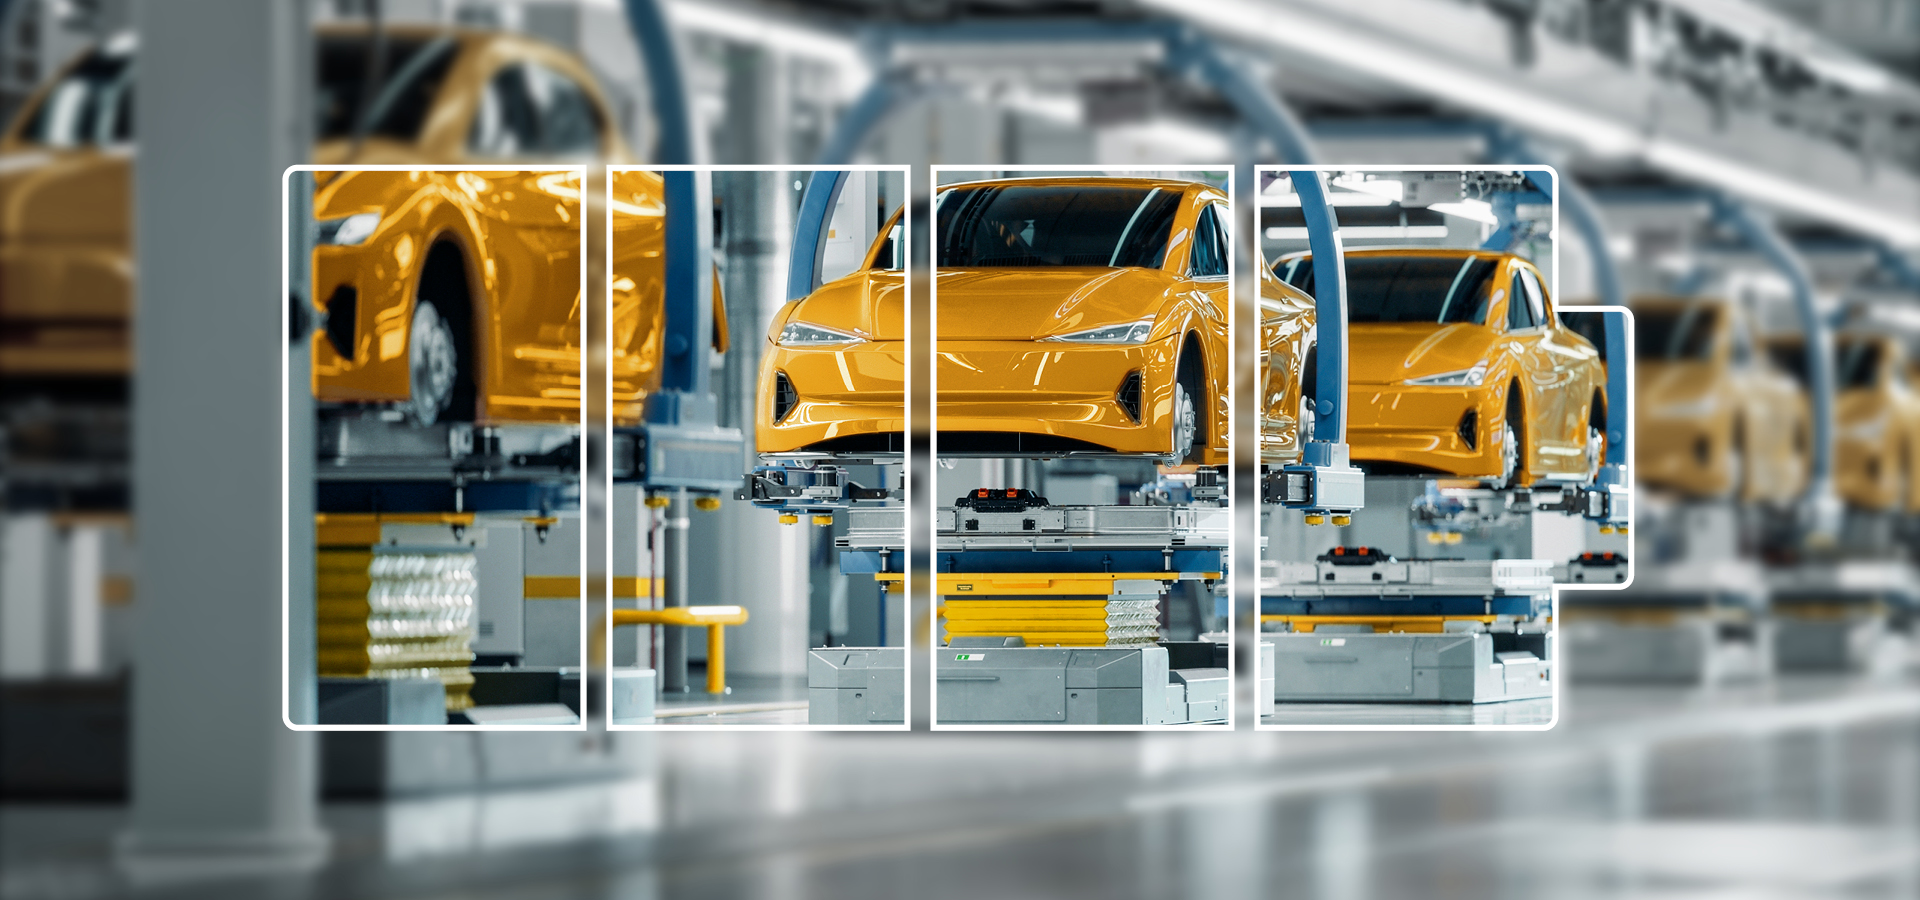
Volkswagen Commercial Vehicles has been manufacturing vans, family vans, and motorhomes at its traditional site in Hanover, Germany, for more than 65 years. With the ID. Buzz, the first battery-powered electric vehicle is now being produced at the site. Before the marriage, the connection of body and powertrain, a 3-D camera system from the Pepperl+Fuchs company VMT checks all components.
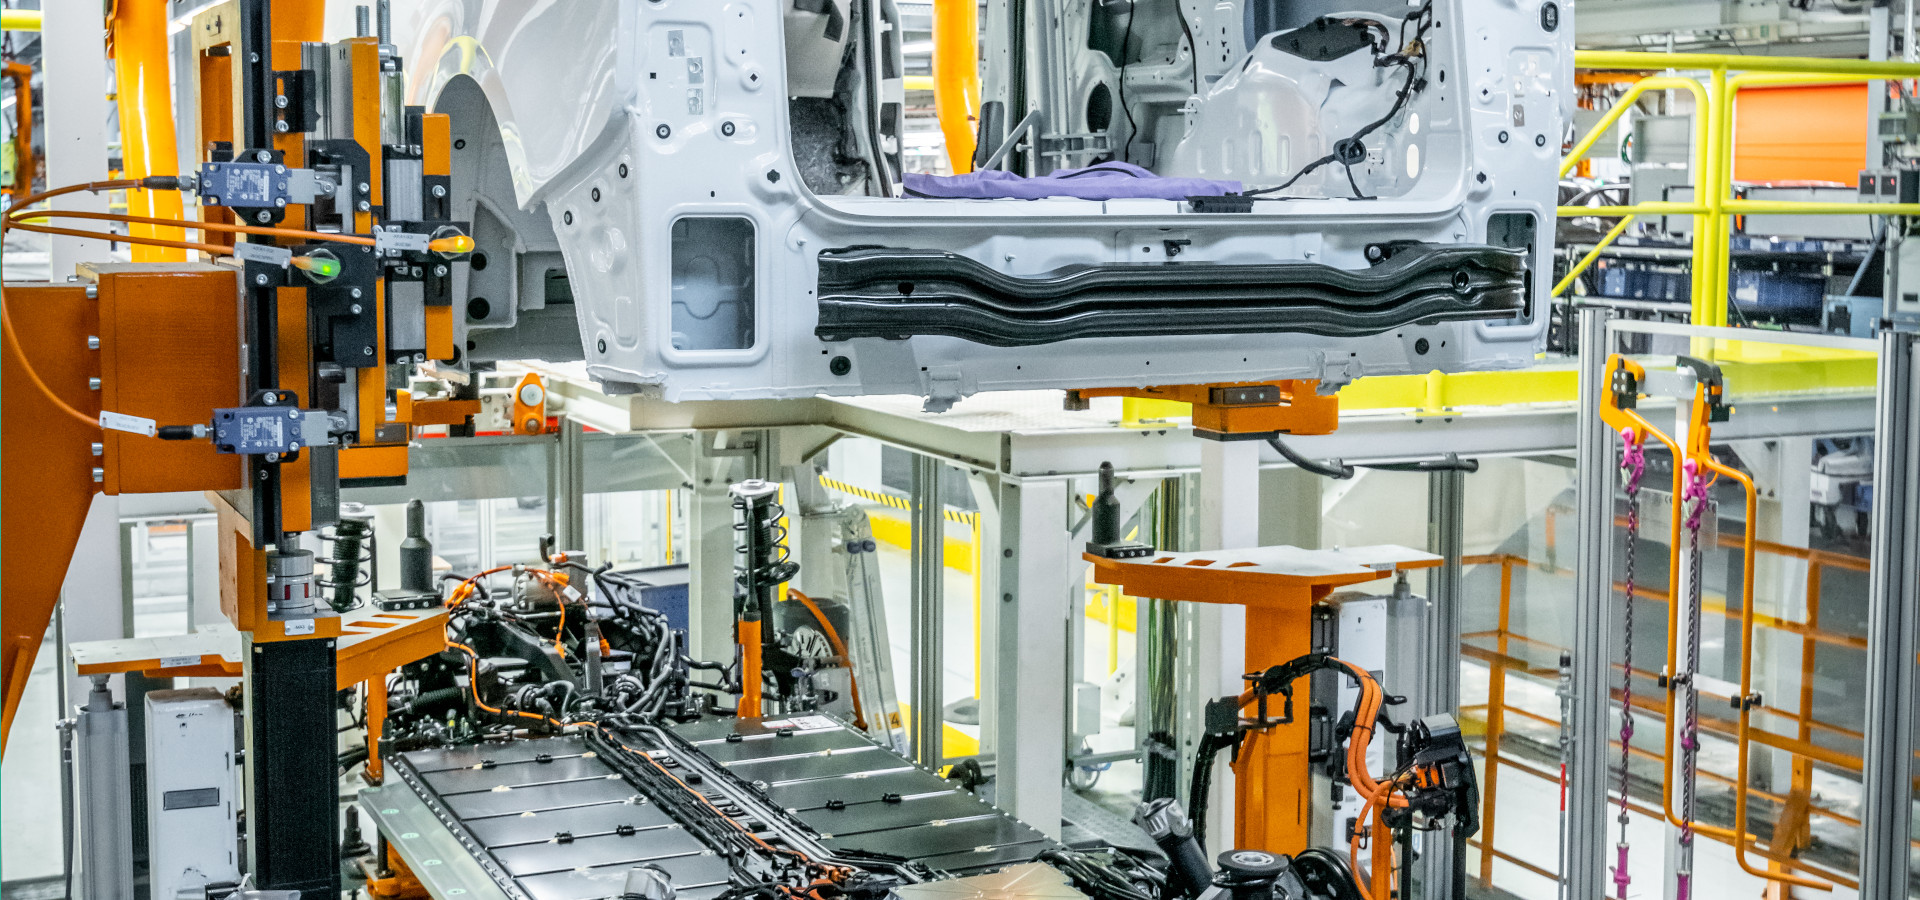
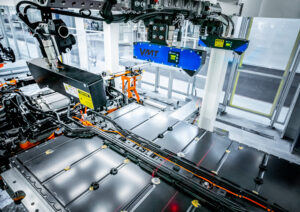
The inspection of each individual vehicle before the marriage—the joining of the body and powertrain—is an important step in ensuring the quality of the vehicles produced. This is where the 3-D camera system VMT ClearSpace 3D from Vision Machine Technic Bildverarbeitungssysteme (VMT) comes into play, enabling precise and fast inspection of all components. The system can scan every detail of the chassis and detect irregularities or defects before the vehicle enters the next production step of the marriage.
To avoid time-consuming disruptions in production due to foreign objects, VMT has developed the ClearSpace 3D, a 3-D vision solution that reliably detects the smallest foreign objects. Like many other vision solutions from VMT, the industrial vision system is designed so that it can be equipped with its own 3-D sensors such as the DeepScan and with 3-D sensors from other manufacturers and technologies, such as laser triangulation sensors. The right choice of suitable sensor technology is an essential first step in achieving a solution that meets all process requirements.
During the inspection of the battery housing at Volkswagen Commercial Vehicles, the preliminary tests that VMT can carry out in its own test laboratories have shown that the use of laser triangulation sensors fully meets the customer's requirements. These are always aligned in pairs in opposite directions so that undercut-free scanning of one side of the battery cover is possible. A total of four triangulation sensors are therefore used to detect both sides of the cover 100 percent.
Detect Very Large and Microscopically Small Objects in the Same Way
The measurement results are evaluated during operation in the VMT MSS (multisensor system) software platform, in which VMT ClearSpace 3D and almost all other VMT products are implemented with numerous configuration and evaluation options. In the application in Hanover, the two-stage evaluation process makes it possible to first detect larger foreign objects with dimensions of ten millimeters or more and then use downstream fine detection to detect objects with dimensions of five millimeters or more. One of the strengths of the image processing solution is that this grid can be scaled in both directions, depending on the sensor technology selected, so that very large and microscopically small objects can be reliably detected in the same way. Overall, VMT ClearSpace 3D achieves high image quality and accuracy, reliably detecting objects such as screws, nuts, splinters, or other small parts, as well as forgotten tools, therefore helping to avoid disruptions in the assembly process.
In addition, the system is easy to adapt to changes in product or component properties. If the requirements change due to additional model series or adjustments to existing model series, it is usually possible to react flexibly by adding additional or different sensors or simply supplementing optimized algorithms. This flexibility is particularly relevant if components of the vehicle parts to be tested are adapted or changed during a project.
In the successfully implemented project at VW Commercial Vehicles, the top of the battery is scanned with up to 14 million pixels in the form of a 3-D point cloud composed of four individual scans with a depth resolution of 200 μm. The lateral resolution is 300 μm. The triangulation sensors have sufficient light output to recover sufficient evaluable reflections from the top of the object, compensate for ambient light influences and therefore ensure high imaging quality and measurement accuracy. Based on the experience gained from this project, VMT selected a scanning frequency of 555 Hz in order to achieve the optimum scanning result, even if the sensors allowed significantly higher scanning rates. All scanners run synchronized via a rotary encoder signal so that fluctuations in the speed of the linear axis have no effect on the quality of the point cloud. As a result, this is always equidistant between each individual scan.
Software Automatically Detects Interfering Objects
Based on the distance values measured in 3-D, the MSS software platform first calculates a 3-D model of the object surface as a basic plane and then superimposes a virtual reference plane for larger objects. In the next step, the software compares the values of the target point cloud with the measured actual point cloud. Interfering objects that protrude into the reference plane and have a certain surface area are detected as foreign objects, so that an automatic assembly process is stopped. In the second evaluation stage, the edge lengths—and therefore the limit height for detection—are halved again. At the same time, the point cloud is converted into a height profile, which means that even more delicate elements can now be reliably detected. In both evaluation stages, the detected objects are visualized both in the software platform and on the operator panel of the system.
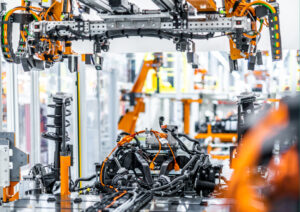
In addition to geometric detection with the laser sensors, other quality features are monitored using conventional image processing.
Monitoring the Assembly Process with 20 High-Resolution Area Scan Cameras
The versatility of the VMT solutions is also demonstrated by the fact that, in addition to geometric detection with the laser sensors, other quality features are also monitored using classic image processing in the sense of a traditional set-up check. For this purpose, 20 high-resolution area scan cameras are used in the same system to check the presence and positioning of other add-on parts for a successful joining process, particularly in the area of the front and rear axles. In detail, this involves monitoring the installation situation of add-on parts, measuring the position of suspension struts and bearings and checking the routing of high-voltage cables. Only when ClearSpace 3D and the classic inspection solution give their O.K. is the chassis transported to the next station.
The Marriage Can Take Place
After more than 12 months in use, the VMT ClearSpace 3D industrial vision system has ensured many successful "marriages". VMT project manager Andreas Redekop is certain that this project implementation has created a solution that will continue to do so reliably for a long time to come and will be well prepared for any necessary adaptations: "With its open architecture and modular approach, our software is simply unbeatable when it comes to adaptability," Redekop is convinced.

Co-project manager Florian Diefenbach, who is responsible for the camera solution, is also enthusiastic about the possibilities of the VMT software: "Our systems run in many plants to the complete satisfaction of the end customers and, due to their ease of use, the system administrators on site always have the opportunity to actively participate in the optimization of the systems."

